
Docker for Windows is a product offered by Docker that allows users to set up a Docker container on a client-based operating system (Windows 10).
Containers are all the rage these days, and Docker is king of the containers. Not to be left out of the container space, Microsoft has been collaborating with Docker quite a bit within the past few years to get the Windows ecosystem up to par with their Linux counterparts. One outcome of that Docker/Microsoft partnership has been a product called Docker for Windows.
Although similar to the Docker for Windows Server, Docker for Windows is different. Docker for Windows only runs on Windows 10 Professional or Enterprise 64-bit which we’ll be working on this article. However, if you’re running a legacy Windows system, you could always check out Docker Toolbox.
Getting Started with Docker
Docker for Windows comes in two flavors - Community Edition and Enterprise Edition. Since we’re not going to be doing anything fancy and I like free stuff, we’re going to use the Community edition.
On our Windows 10 machine, we’ll first need to download Docker for Windows Community Edition. Once downloaded, run the installer. When complete, it will ask you to log out of Windows. Log out and log back in again.
Once Docker for Windows is installed, it will automatically start up when the computer has rebooted. When it does, you will be prompted to install the Hyper-V and Containers features. Go ahead and then reboot.
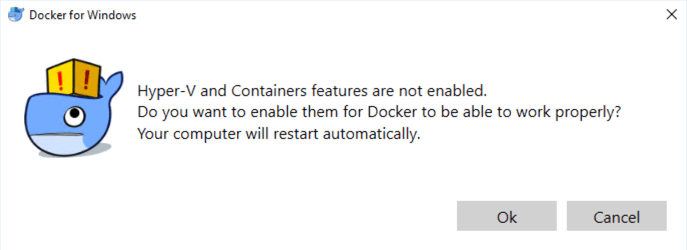
Click OK but don’t fret if nothing happens. Docker for Windows is installing the Hyper-V and Containers features in the background. Wait a minute or so, and you will notice your computer reboot. Once your computer reboots, Docker will attempt to start in the system tray.
If Docker does not start when you’re running Windows 10 in an already virtualized environment like Parallels, VMWare Fusion on MacOS, or perhaps an IaaS cloud instance, it will probably fail to start giving you an error message about not being able to start a MobyLinuxVM virtual machine. For us though, since we’re going to create a Windows container anyway, we need to switch Docker for Windows to use Windows containers.
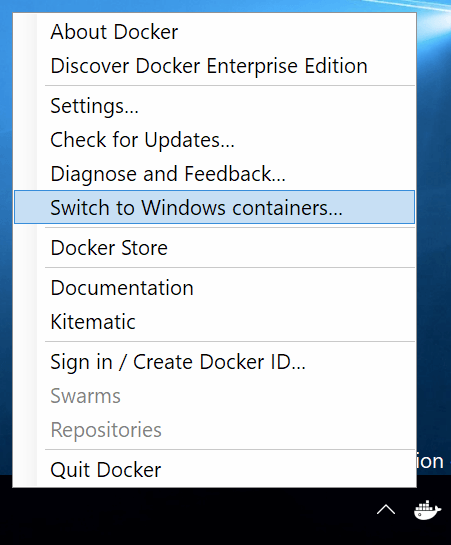
Once you switch it over to use Windows containers, Docker should start up properly. The next step is to pull down an image to use. I’d like to set up a Windows Server Core container. I’ll search the official Docker registry using docker search via cmd or PowerShell. This will get me the name of the image to pull down.
PS> docker search *windowsservercore*
 NAME                                         DESCRIPTION                                     STARS               OFFICIAL            AUTOMATED
 microsoft/windowsservercore                  Windows Server Core base OS image for Window…   340
Once I know the name of the image, I can then pull down the image to my computer using docker pull.
PS> docker pull microsoft/windowsservercore
 Using default tag: latest
 latest: Pulling from microsoft/windowsservercore
 3889bb8d808b: Downloading [>                                                  ]  63.29MB/4.07GB
 cfb27c9ba25f: Downloading [==>                                                ]  62.29MB/1.308GB
This will download and decompress a Windows Server Core image.
Running a Docker Container
Once the image has been downloaded, you can now run a container from that image. To do so, we’ll use the docker run command. The docker run command uses an image to create a container from scratch to run a specific command in. In our example, I’d like to run PowerShell in my new Windows Server Core image. To do so, I’ll specify the name of the image and the PowerShell executable.
PS> docker run microsoft/windowsservercore powershell
 Windows PowerShell
 Copyright (C) 2016 Microsoft Corporation. All rights reserved.

 PS C:\>
 PS>
You’ll see though that it didn’t do much. It brought up PowerShell in the container and then exited. I expected to be presented with a PowerShell session. The reason for this is because, by default, docker run isn’t interactive, meaning it runs whatever the command is and exits. To be able to use PowerShell in that container, I’ll have to use the -it argument. This will open up PowerShell and leave it running for me to then use as I wish.
Congrats! You’ve set up your first Windows container on Docker!